How to uninstall valorant - a step-by-step guide
Whether you're freeing up storage space or just taking a break from competitive gaming, uninstalling Valorant from your PC is a straightforward process. This guide will walk you through each step required to completely remove the game and its associated files. If you're looking for a quick reference, you can also check out this detailed tutorial on how to uninstall Valorant.
Why Uninstall Valorant?
There are several reasons you might want to uninstall Valorant, including:
- Freeing up disk space
- Fixing software conflicts or bugs
- Reinstalling a fresh version of the game
- Taking a temporary or permanent break from gameplay
No matter the reason, the process to remove Riot Games' popular shooter is relatively simple but does require removing both the game and its anti-cheat software, Vanguard.
Step 1: Close Valorant and Riot Vanguard
Before you can uninstall the game, you need to make sure that neither Valorant nor Vanguard is running in the background.
How to Close Vanguard
- Right-click on the Vanguard icon in your system tray (bottom-right corner of your screen)
- Select Exit Vanguard
- You may be prompted to confirm your selection - click Yes
Without closing Vanguard, you may run into errors during the uninstallation process.
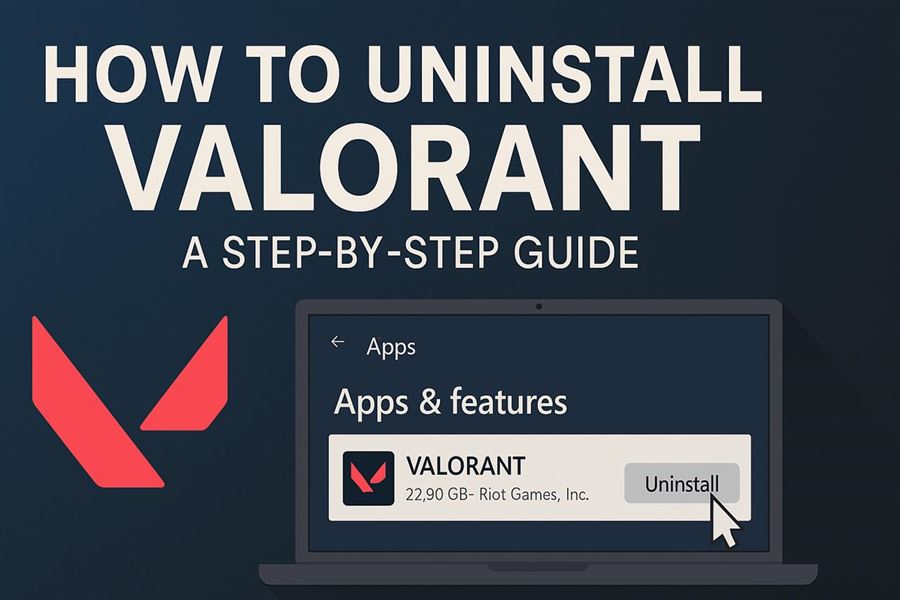
Step 2: Uninstall Valorant Through Windows Settings
Once Vanguard and Valorant are no longer running, you can proceed to uninstall the game via your Windows settings menu.
Using Windows 10 or Windows 11
- Click on the Start menu and select Settings
- Navigate to Apps > Apps & Features
- Scroll through the list to find Valorant
- Click on Valorant, then choose Uninstall
- Follow the prompts to complete the process
This step will remove the core game files, but Vanguard, the anti-cheat system, still remains on your computer and must be removed separately.
Step 3: Remove Riot Vanguard
Riot Vanguard is a kernel-level anti-cheat software that installs alongside Valorant. To completely uninstall Valorant, you need to also remove Vanguard.
Uninstall via Control Panel
- Open the Control Panel by searching for it in the Start menu
- Select Programs and Features
- Find Riot Vanguard in the list
- Right-click on it and select Uninstall
- Follow the prompts to ensure all components are deleted
Alternatively, if this method does not work, you can navigate to the Vanguard installation folder and run the uninstaller manually from there.
Step 4: Restart Your Computer
After uninstalling both Valorant and Vanguard, it is a good idea to restart your computer. This ensures that any residual services or processes are fully terminated and removed from memory.
Optional: Delete Leftover Files
In some cases, a few files or folders may remain on your PC even after the uninstallation process.
How to Clean Up Residual Files
- Open File Explorer and navigate to C:\Program Files\Riot Games
- Delete the Valorant and Vanguard folders if they still exist
- Clear your Temp folder by typing %temp% in the Run dialog (press Win + R), then delete contents within
Doing this helps maintain optimal system performance and clears up additional space.
Conclusion
Uninstalling Valorant is more than just moving the game to the recycle bin. By following these steps, you can be sure that both the game and Riot’s Vanguard system are completely removed from your PC. Whether you're uninstalling to troubleshoot problems, to swap games, or just to take a break, this guide provides a clean and complete solution.